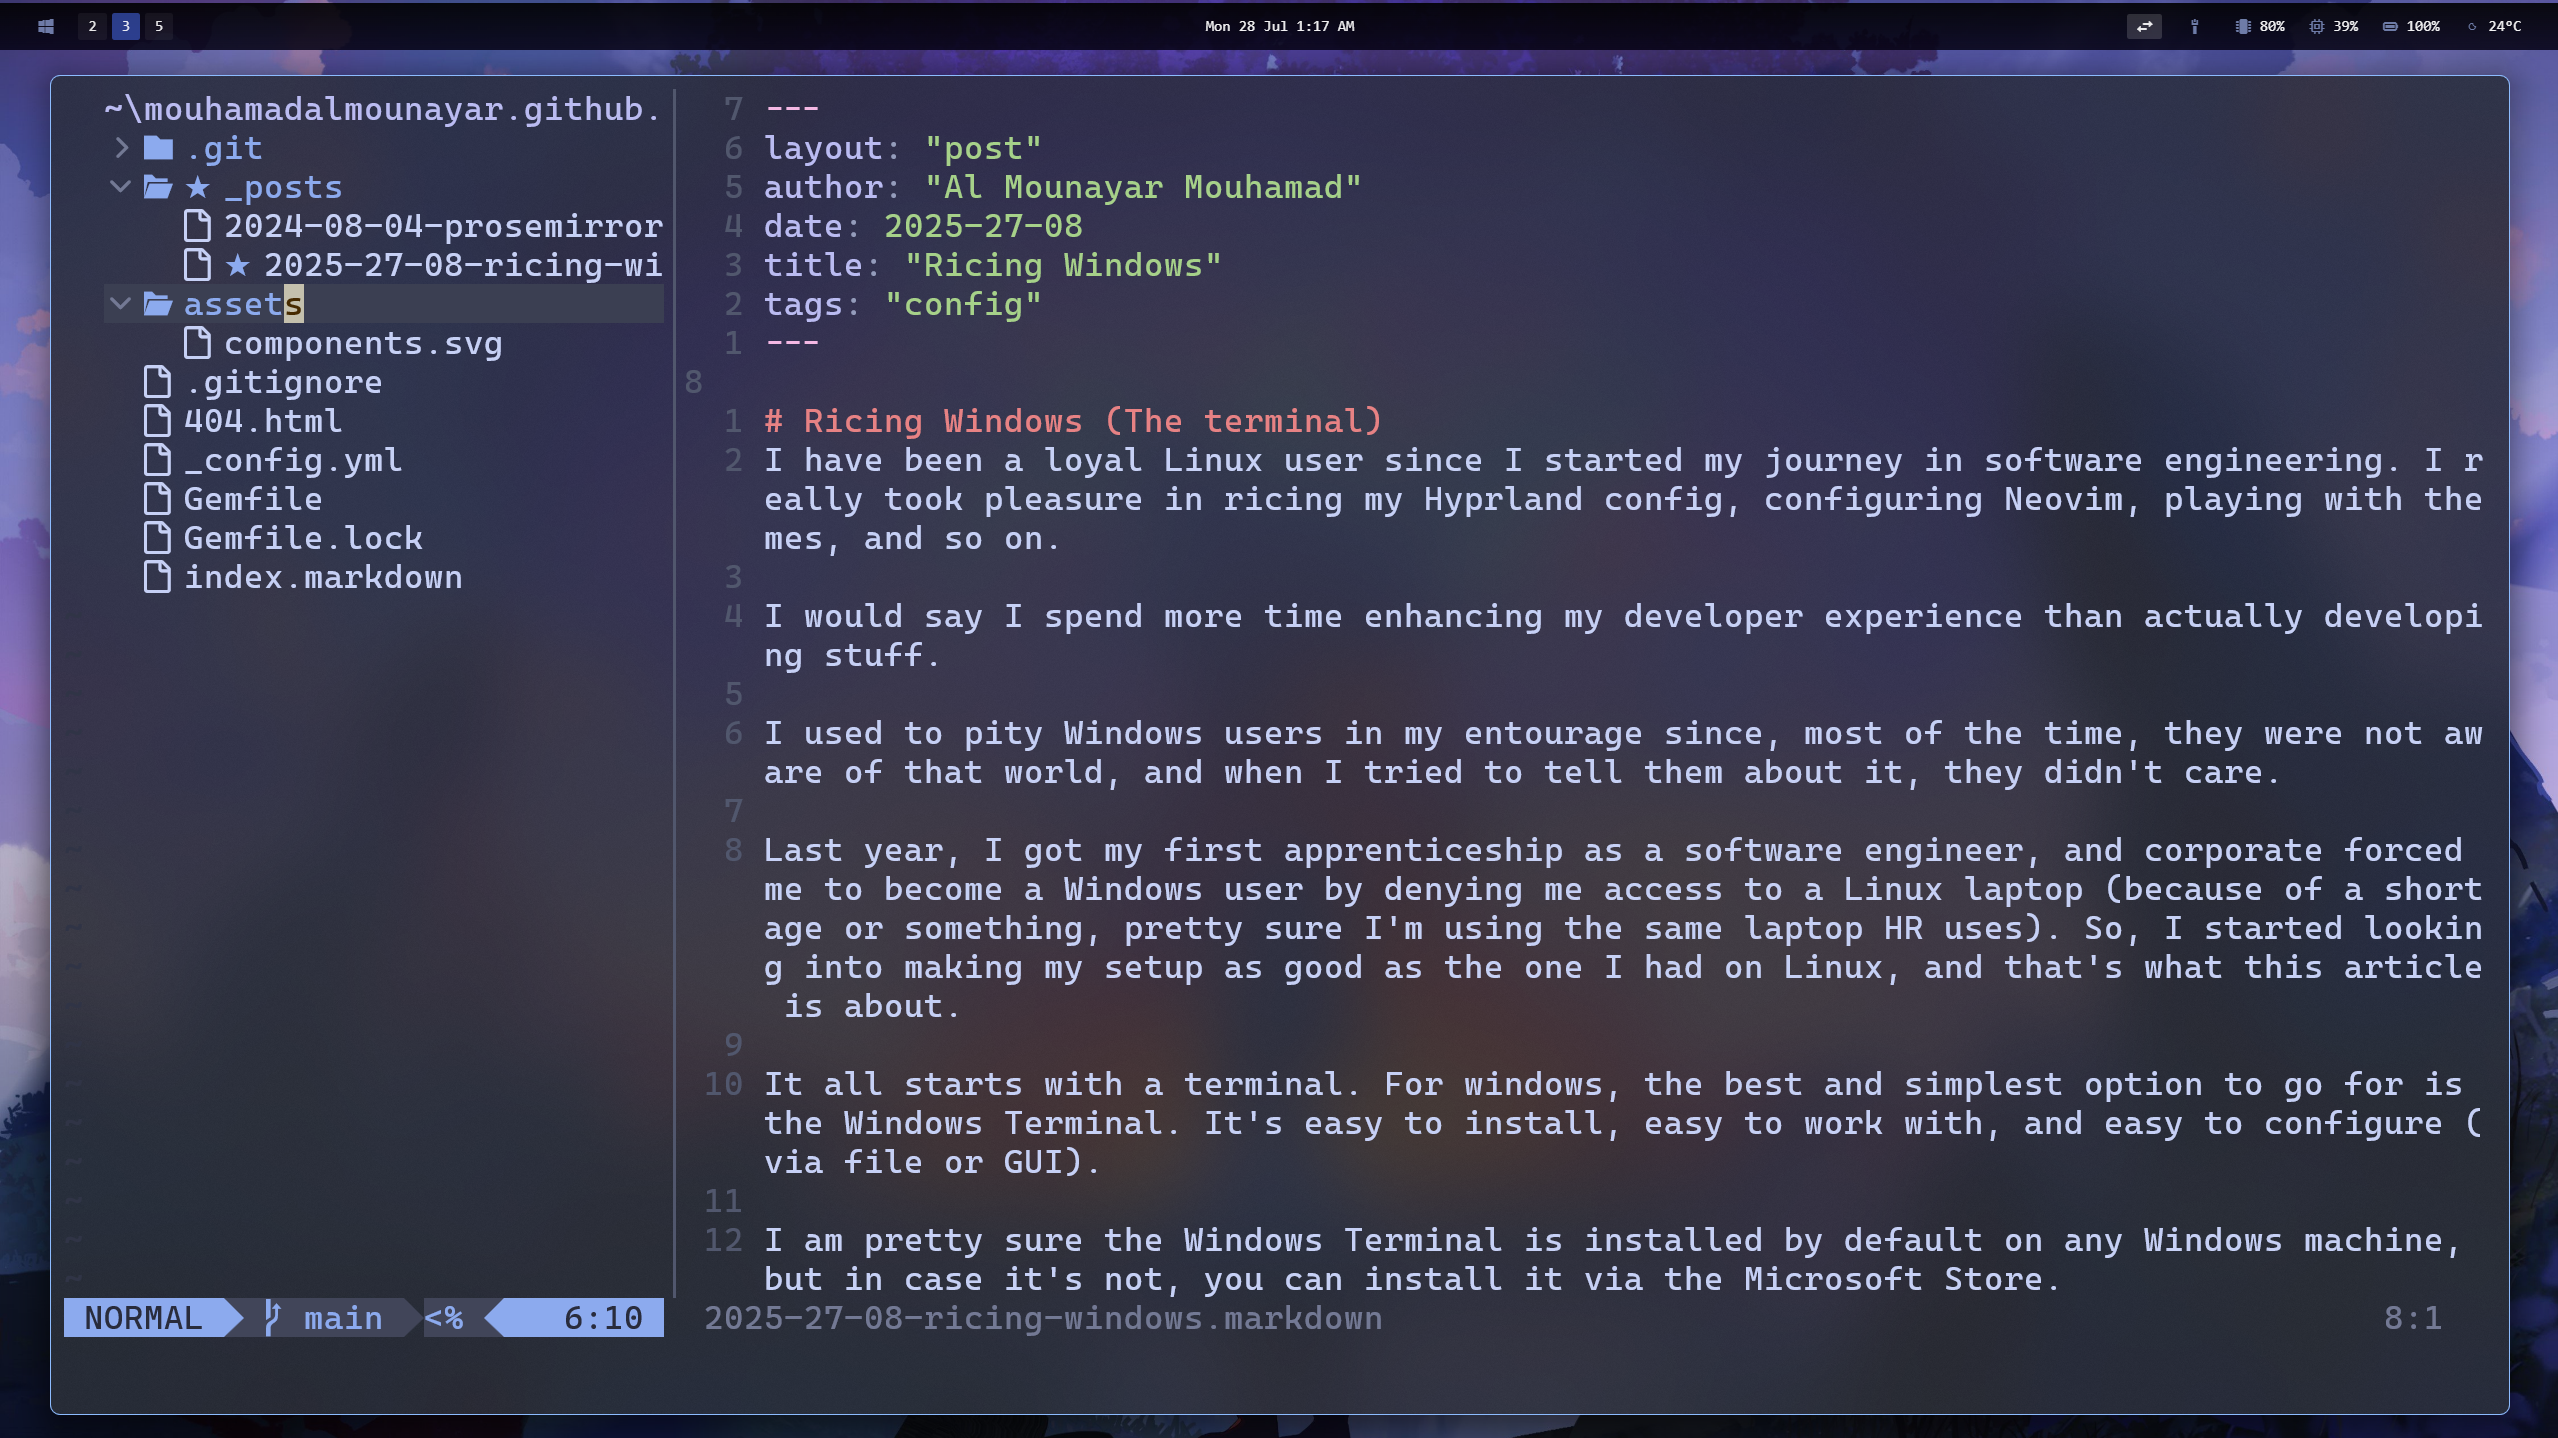
Ricing Windows
by Al Mounayar Mouhamad
I have been a loyal Linux user since I started my journey in software engineering. I really took pleasure in ricing my Hyprland config, configuring Neovim, playing with themes, and so on.
I would say I spend more time enhancing my developer experience than actually developing stuff.
I used to pity Windows users in my entourage since, most of the time, they were not aware of that world, and when I tried to tell them about it, they didn’t care.
Last year, I got my first apprenticeship as a software engineer, and corporate forced me to become a Windows user by denying me access to a Linux laptop (because of a shortage or something, pretty sure I’m using the same laptop HR uses). So, I started looking into making my setup as good as the one I had on Linux, and that’s what this article is about.

It all starts with a terminal. For windows, the best and simplest option to go for is the Windows Terminal. It’s easy to install, easy to work with, and easy to configure (via file or GUI).
I am pretty sure the Windows Terminal is installed by default on any Windows machine, but in case it’s not, you can install it via the Microsoft Store.
Next, go ahead and install powershell. Not Windows Powershell, powershell. This will add some cool features like auto-suggestions and tabs support.
This is the time I probably need to mention that it is a good idea to get a package manager, to quickly install stuff. I personally use scoop, but winget and choco are also excellent options.
To install scoop run the following command :
Set-ExecutionPolicy RemoteSigned -scope CurrentUser
iwr -useb get.scoop.sh | iex
Then, install powershell using scoop :
scoop install powershell
Once you have powershell installed, you need to set it as a profile in your terminal, we’ll also make some appearance modifications along the way.
- Open a Windows Terminal instance.
Ctrl + ,to open settings.- Go to Startup > DefaultProfile > set it to Powershell.
- Go to Defaults > Appearance > Transparency > Set opacity to 85 and turn on use acrylic.
Ctrl + Shift + Wto close settings.
And you’re good to go.
The next step would be to enhance your shell’s overall appearance. I use oh-my-posh, because, well, it works on windows, and it has a variety of very good looking themes for you to choose from.
Intall oh-my-posh using scoop :
scoop install main/oh-my-posh
In order for icons to appear properly, you’re going to need a Nerd Font. Oh My Posh docs recommend meslo, which is alright I guess. I honestly forgot what Nerd Font I am using.
oh-my-posh font install meslo
Finally, you need to choose a theme, and configure oh-my-posh to launch each time you open a terminal.
Go to oh my posh themes page, and search for a theme you like. I personally use catpuccin_frappe.
- Create a profile file :
New-Item -Path $PROFILE -Type File -Force - Open the file in your text editor :
notepad $PROFILE - Add this line to the file:
oh-my-posh init pwsh --config 'catppuccin_frappe' | Invoke-Expression
Now, oh-my-posh will load each time you open your terminal.
This is just the first step of ricing windows. Next steps would include installing a tiling manager and configuring neovim. But those will be covered in other posts.
tags: config